RIP-ready export
Export files your RIP opens first try.
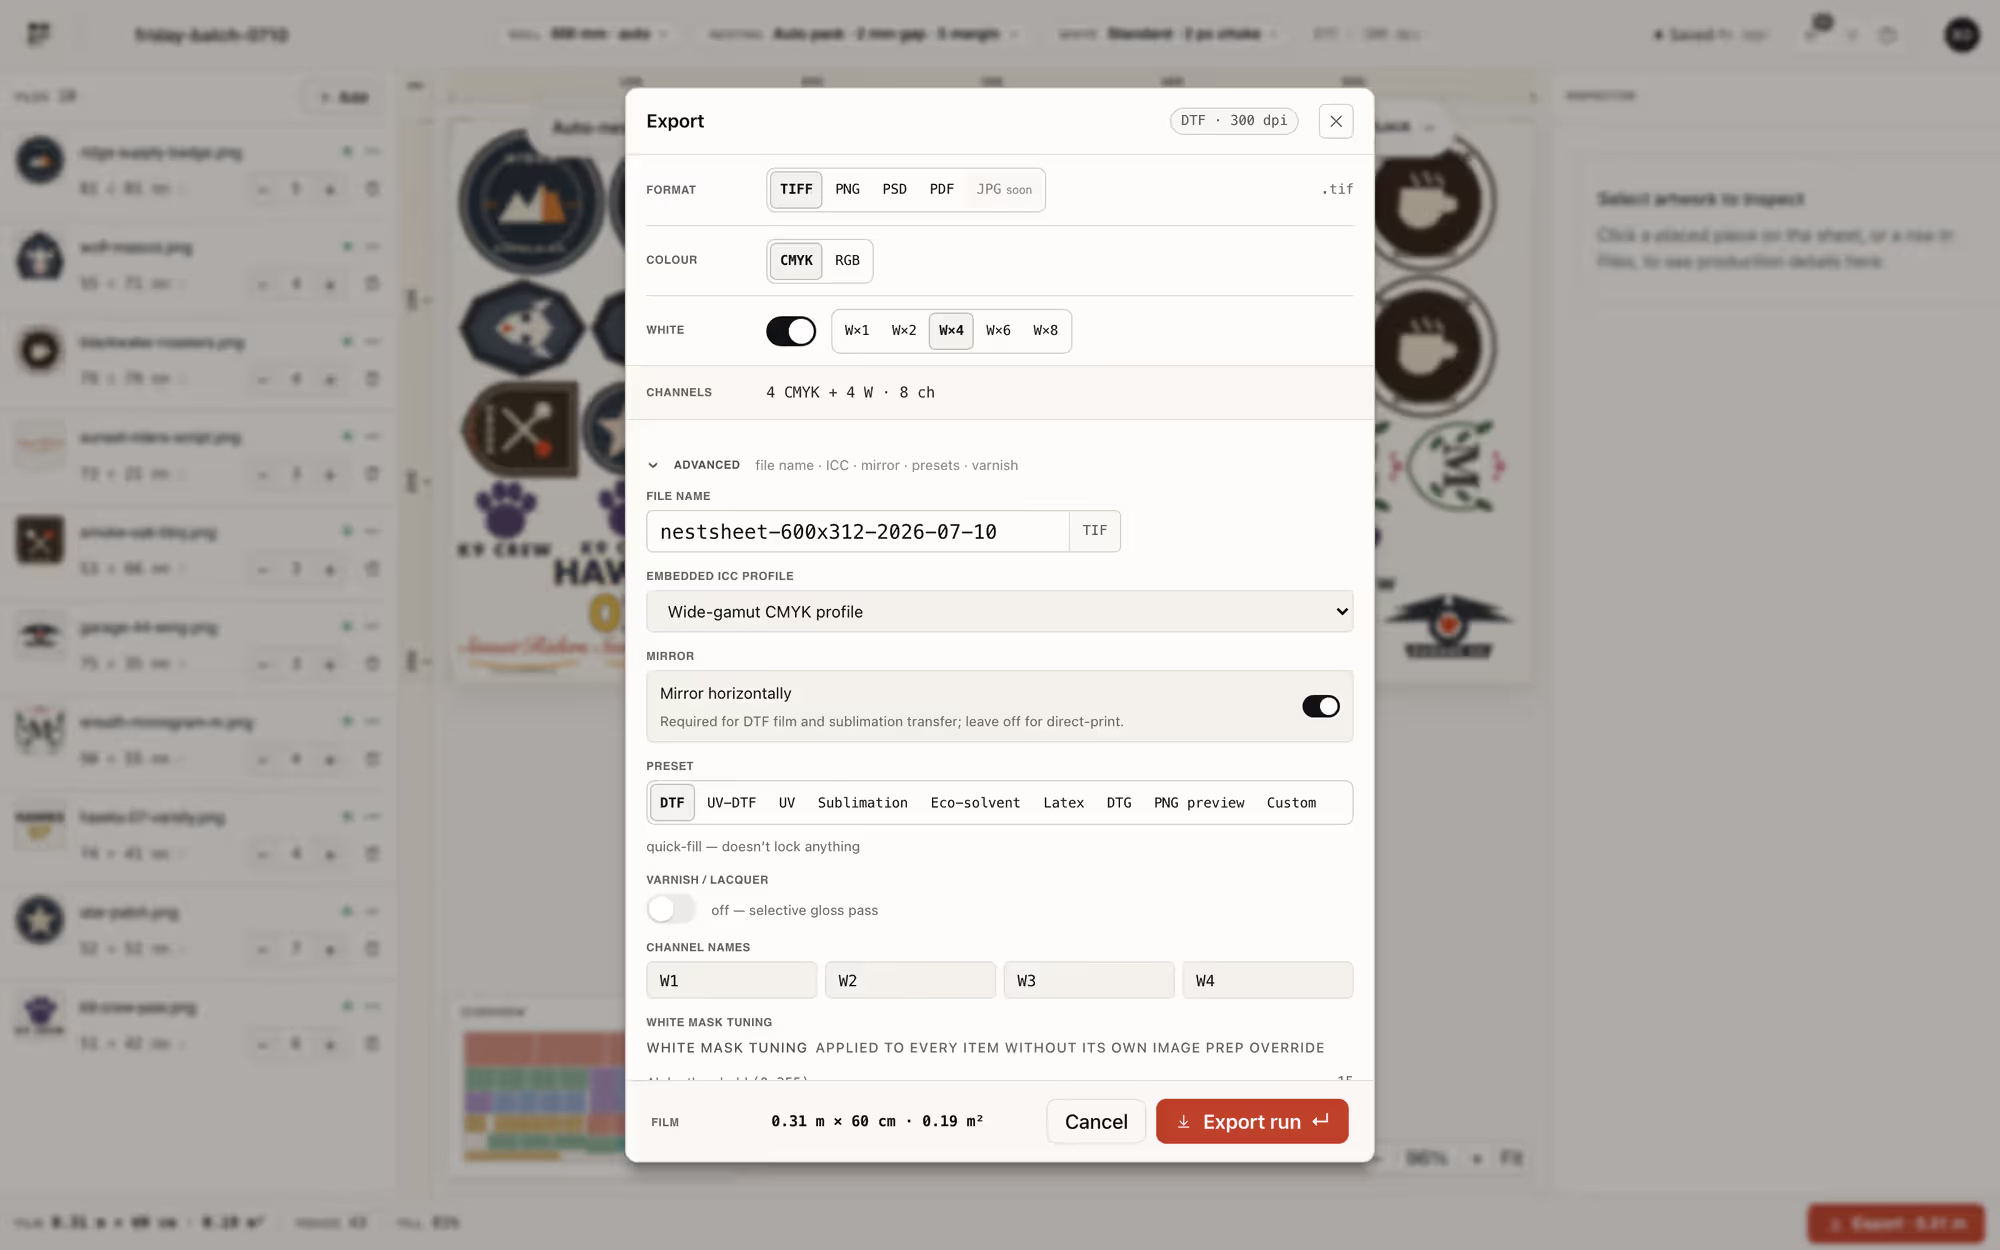
Every export is a row in one matrix — format × colour space × white × varnish — so the file arrives with the right channels, the right names and the right ICC, whichever RIP is on the other side.
The matrix
Nineteen recipes. Zero guessing.
Formats and channel counts below are the shipped matrix — pick the row your RIP expects and the channels arrive in the right order.
- TIFF — eight recipes: CMYK or RGB, with 4, 6 or 8 white channels on white-only rows, or CMYK + 4 white + 4 varnish on the combined rows. 8-channel DTF TIFF goes both ways: we read it on upload and write it back out.
- PSD/PSB — seven recipes with real spot channels: open the file in Photoshop and W and V sit in the Channels panel as spots, not layers pretending to be channels.
- PDF — print-ready CMYK or RGB. Deliberately without spot channels in v1: white and varnish stay on TIFF/PSD, honestly.
- PNG — RGB with alpha, the format where your RIP derives the white from transparency itself. JPG — flat RGB for proofs and previews.
Spot channels
Channel names your RIP already knows.
The most common “RIP won’t open it” failure isn’t the file — it’s the channel naming. So the names are a first-class export setting.
- White and varnish ship as W1–W8 / V1–V4 — the MainTOP-style default — and every channel is renameable per export to whatever your RIP’s manual asks for.
- Six RIP presets in the box: MainTOP, CadLink Digital Factory, AcroRip, PhotoPRINT, SAi Flexi and Generic DTF for everything else.
- Varnish spot channels carry a 1 px default spread — the UV-DTF export pipeline is already built, ahead of the UI mode.
- NestSheet is not a RIP and does not replace one. It is the prepress layer before your RIP — whichever one you run.
Colour
Four output intents, no silent conversions.
- Four ICC output intents: sRGB, Adobe RGB, FOGRA39 (ISO Coated v2 300%) and Epson wide-gamut CMYK — the profile is embedded in the export.
- On the way in, CMYK TIFFs and PSDs are normalised to sRGB honouring their embedded profile, and 8-channel DTF TIFFs are read natively.
- Uploading your own output ICC isn’t supported yet — four intents ship today, and this page will say so when that changes.
After the render
The file waits for you, not the other way round.
- Every render lands in your account’s export history and stays re-downloadable for 72 hours — the exact file the press ran, no re-render and no additional exported area consumed.
- Mirror-for-film and custom file naming are export-time toggles, not re-edits.
- Every plan writes the same clean production files; monthly exported area is the sole plan allowance — see pricing.
Spec sheet
The export matrix, from the code.
Every value below is read from the shipped product, not from a wishlist — the sources are in this page’s code.
| Parameter | As shipped |
|---|---|
| TIFF (8 recipes) | CMYK / RGB · white ×0, 1, 4, 6 or 8 · varnish ×0, 1, 2 or 4 |
| PSD / PSB (7 recipes) | CMYK / RGB · real spot channels for white and varnish |
| PDF (2 recipes) | CMYK / RGB · flattened, no spot channels in v1 |
| PNG (1 recipe) | RGB + alpha — the RIP derives white from transparency |
| JPG (1 recipe) | flat RGB — proofs and previews |
| Channel naming | W1–W8 / V1–V4 default, renameable per export |
| RIP presets | MainTOP · CadLink Digital Factory · AcroRip · PhotoPRINT · SAi Flexi · Generic DTF |
| ICC intents | sRGB · Adobe RGB · FOGRA39 · Epson wide-gamut CMYK |
| Input side | 10 formats (PNG, JPEG, TIFF, WebP, PSD, PSB, EPS, AI, PDF, SVG), up to 500 MB a file |
| Retention | exports re-downloadable for 72 hours |
FAQ
The questions operators actually search.
Should DTF files be RGB or CMYK?
Both survive the trip — what matters is who does the ink split. Most RIPs expect to do it themselves, so RGB with a known profile is the safe default. NestSheet reads both (CMYK inputs are normalised to sRGB using their embedded ICC) and exports both: RGB through sRGB or Adobe RGB, CMYK through FOGRA39 or Epson wide-gamut.
Is there free DTF RIP software?
Genuinely free DTF RIPs are rare — most shops run a commercial RIP, often the licence that came bundled with the printer. NestSheet is not a RIP and does not replace one; it is the prepress layer in front. The Free plan includes the complete workflow and 30 m² of clean, RIP-ready exports each UTC month.
Which CadLink version do I need for DTF?
That depends on your printer — check CadLink’s own edition pages or your printer vendor’s bundle notes for the exact edition their driver needs. From the NestSheet side it makes no difference: the CadLink Digital Factory preset ships in the box, and your export carries named white channels whichever edition you run.
How do I create a white layer preset in RasterLink 7?
Inside RasterLink that is the vendor’s own spot-colour workflow — its manual covers it, and we keep RIP-specific walkthroughs off this page until we can cite them properly. What NestSheet controls is the file side: export TIFF CMYK + white through the Generic DTF preset and the white arrives as separate named channels, ready to map once.
Keep going